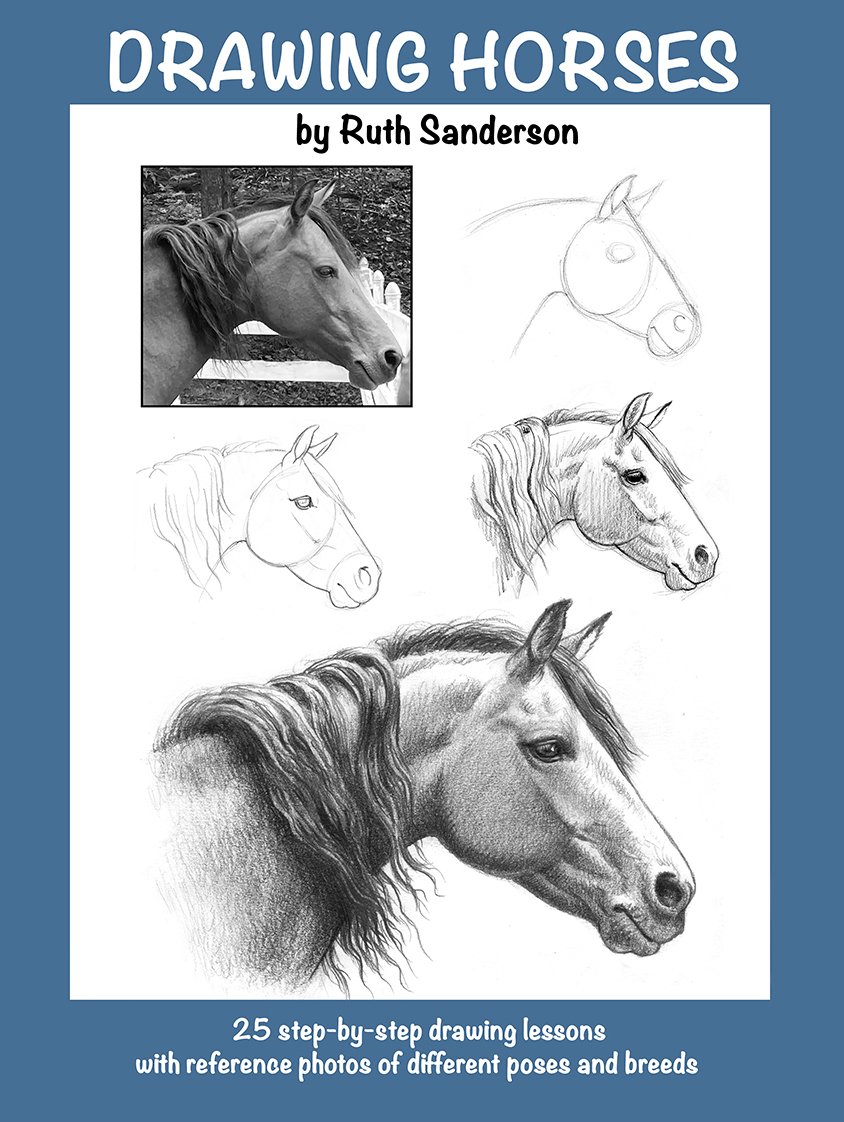
How I Draw Horses
Different artists each have their own way of approaching how to draw horses. My book, Drawing Horses, is just one way. My method is based on the observation of real horses, usually ones I have photographed myself, so that the horses I draw and paint look like individuals. Horses come in many shapes, sizes, colors and breeds, and it is fun to be able to draw those differences, and to draw horses in different poses and actions, as I demonstrate in this 80-page book, suggested for ages eight and up. My favorite book on Drawing horses when I was growing up was Walter Foster’s How to Draw Horses. A lot of the pictures were very challenging, but I did my best and learned a lot. I drew better horses as a teenager than when I was ten, and I have continued to improve my skills to this day. So if you want to learn to draw horses, realize it will take a lot of practice, and keep at it! Try out drawing a horse head with this lesson from the book.

Draw a Morgan Horse Head
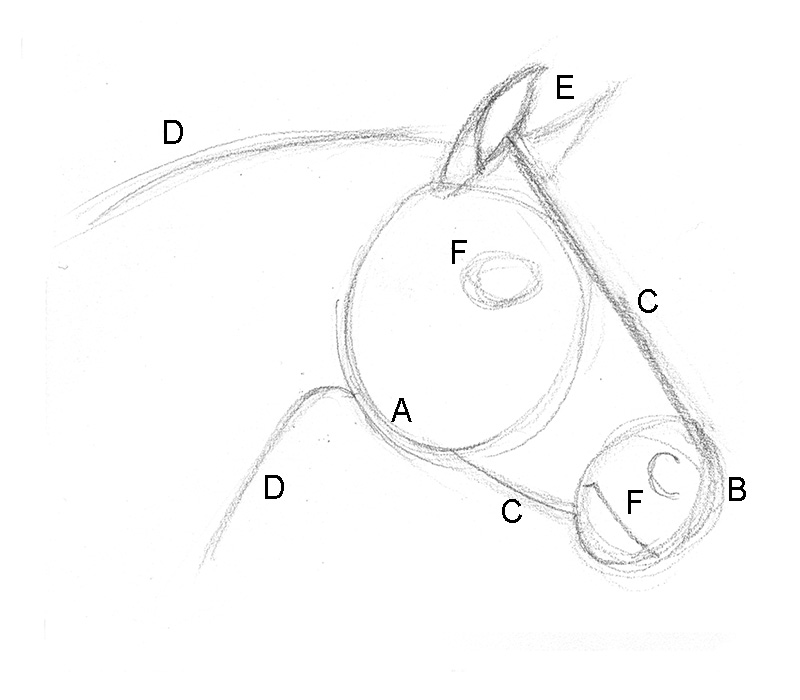
1. A. Start with a big oval, using the curve of the jaw for the shape.
B. Draw a small oval for the muzzle area.
C. Draw a line for the top of the face, and one between the cheek and the chin.
D. Draw the top and bottom arching lines of the neck.
E. Ears can be simple inverted Vs at first. For inside of near ear, draw an inverted teardrop, then add a tip pointing in, and the base.
F. Draw an oval where the eye will go, a 6 for the nostril, and a slightly curved line for the mouth.
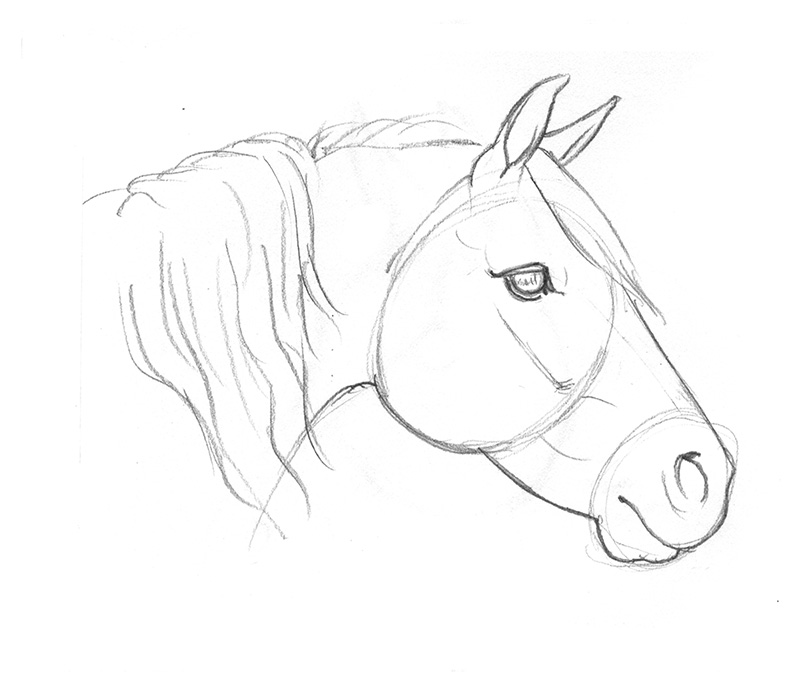
2. Look carefully at the photo and start refining each part of the face to match the lines and shapes you see. Indicate mane.
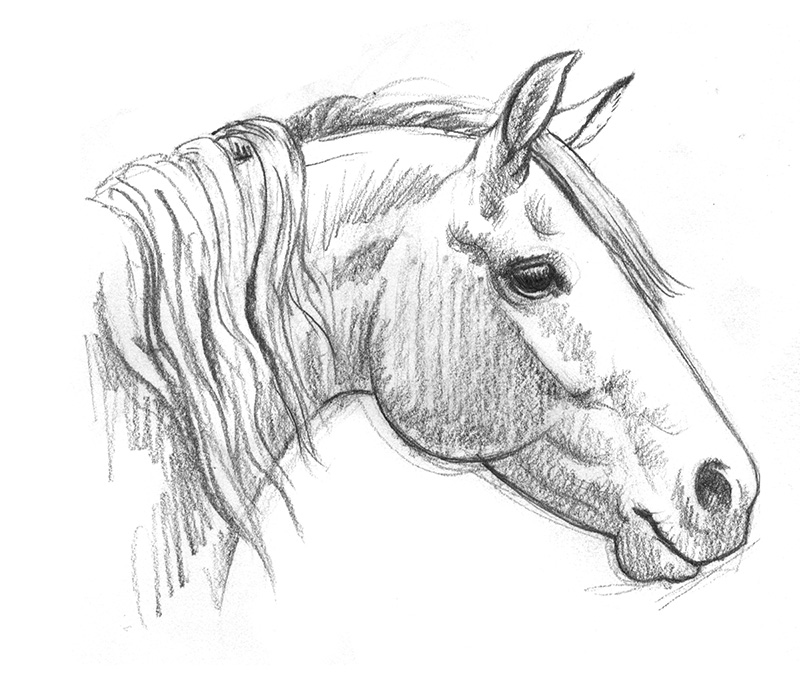
3. Draw the shapes creating the edges of shadow and fill in the shadow areas loosely. Darken eye and nose.
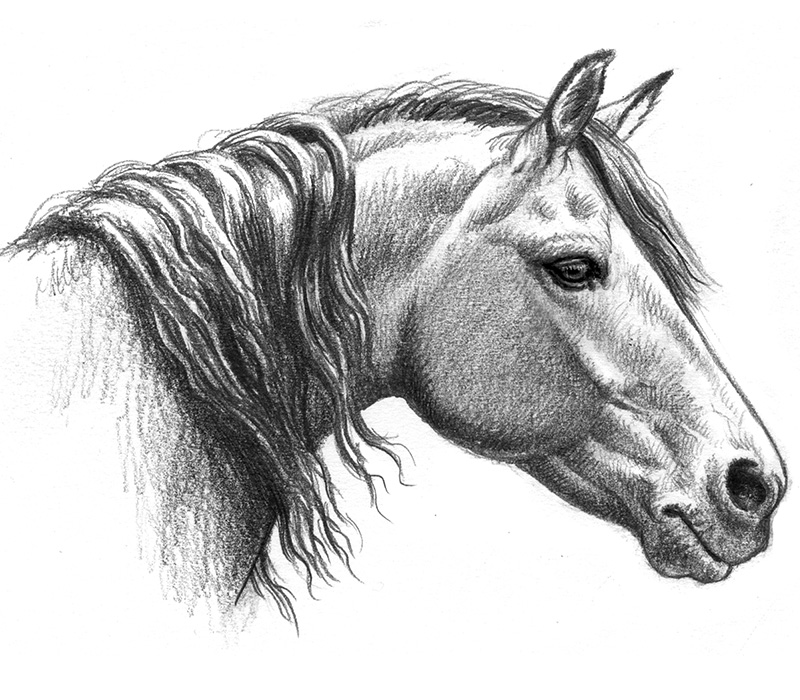
4. For a finished realistic look, carefully build up the shadows and details with an HB, then a B and/or 2B for darkest darks. For a finished realistic look, carefully build up the shadows and details that you see in the photo with an HB, then a B for darkest darks. Use your eraser to pull out highlights and “clean up” any “dirty” areas. Use a blending stump if you want a smoother look.

A Castle Full of Cats